I love succulents. Our garden is rife with them. They are almost unkillable and are prolific reproducers… especially when you are trying to kill them or being passively indifferent.
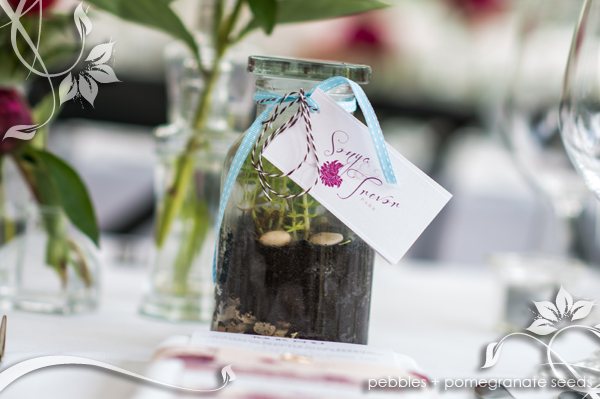
I decided to make this prolific reproduction work to my favour… quite literally, in the form of ‘succulent wedding favours’ for our recent wedding.
Traditionally, wedding favours are given to guests as a thank you for helping to make the occasion special. The meaning and style of gift has changed significantly over the centuries, from the more traditional bonbonnieres (aka sugar almonds that many a guest has broken their teeth on), to a quite diverse range of gifts; jams, seeds, cd’s, lollies, chocolates, macarons, etc.
I liked the idea of giving a plant… I am a compulsive plant/flower giver… I like the idea that my gift continues to grow and evolve, long after the gift is given… that is of course unless the recipient is skilled in the art of greenery annihilation, in which case the gift will have a substantially shorter life.
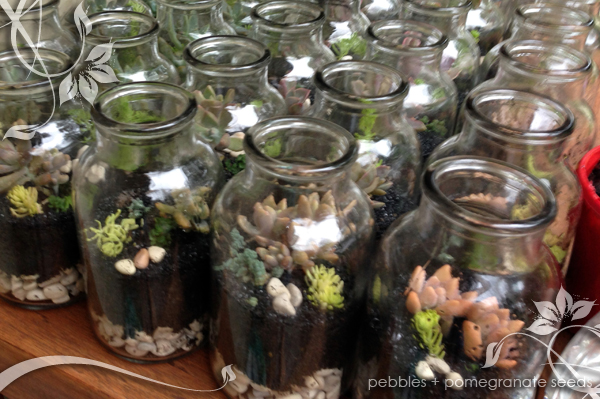
Weddings are expensive exercise, so anything you can make/do yourself is a definite budget advantage. The actual succulents I used were free as they were pre-existing (in my garden and thriving), so with a bit of forward planning I was able to create a large number of these (I made over 50) and they come in at under $4 each. But even if you had to buy the initial succulents, you could easily reproduce large volumes, fairly inexpensively and quickly.
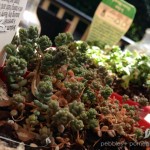
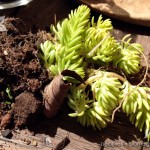
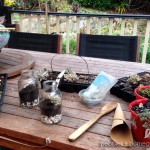
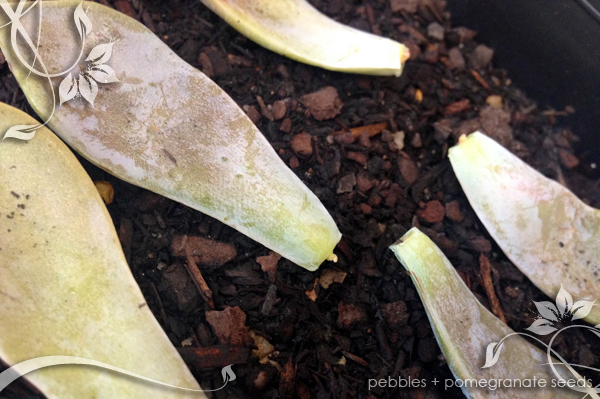
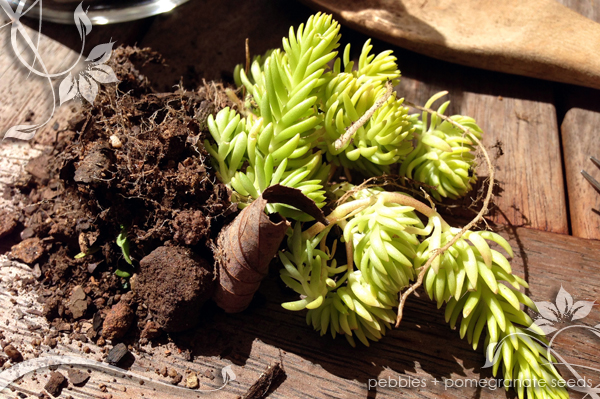
Succulents are incredibly easy to grow. I use the ‘knock and drop method’… I accidentally knock off one of the succulent’s fleshy leaves off, and it drops on the ground and grows… simple!

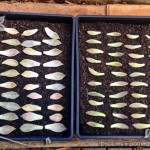
O.K., so maybe that is not quite my method but it is not far from it. I do actually gently knock off some of the leaves and then lay them out in a seed raising or propagation tray filled with some succulent potting mix and that is pretty much it. I give them a bit of a spray with some water, sit them in semi-shade and then just freshen them up with a spray of water every few days.
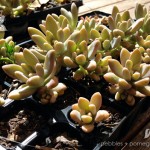
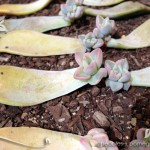
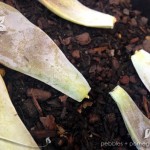
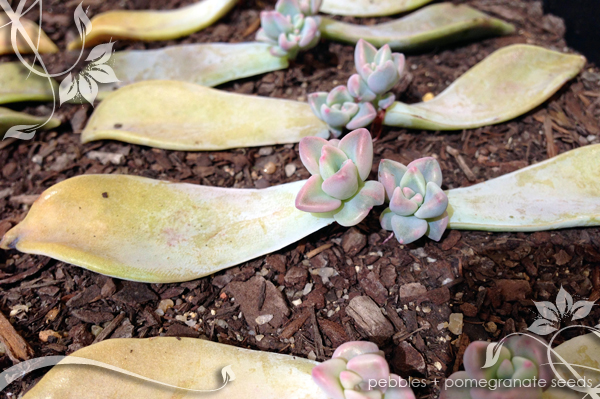
After about a week you will see some activity happening at the end of the leaf stems. They will put out fine little roots and the small succulent growths. The original leaf provides all of the sustenance it needs, which is why it doesn’t need much in the way of watering. Eventually the leaf dries up and drops off and voilà… mini succulents! They are pretty cute.
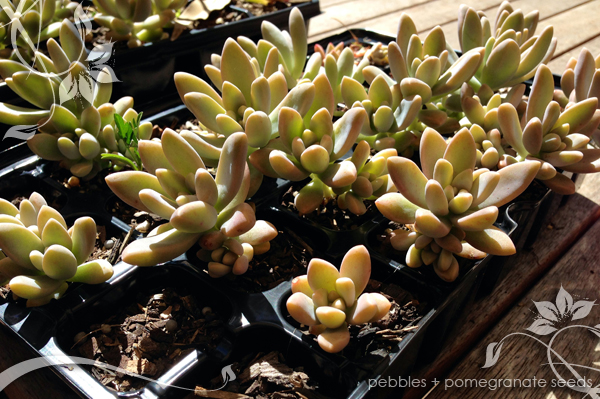
3 months is about the timeframe you will need to get good sustainable sizes (depending on variety and size you would like them) at which point you will be able to transplant them into your little apothecary planter. However you can transplant them sooner. Having said that, if you are buying them already grown for you, then you can do the next steps immediately.
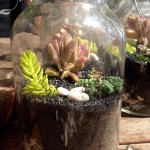
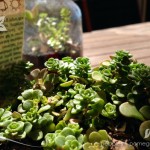
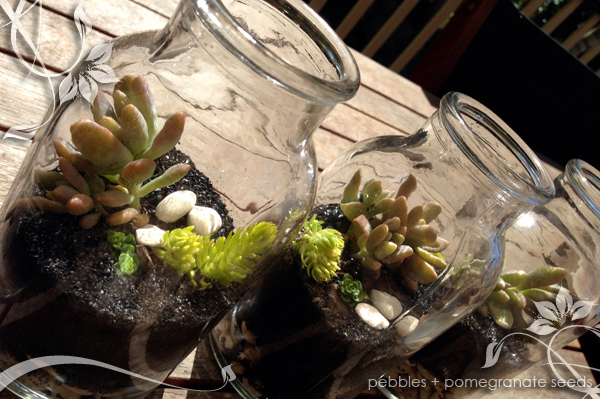
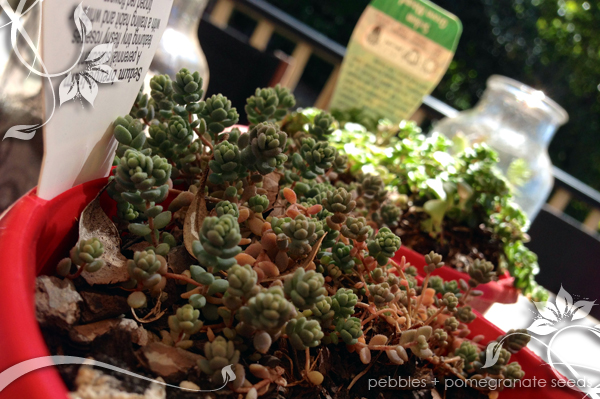
I also used quite a few different varieties of different shape, size and colour to give a contrast – larger ones surrounded by smaller scrambling undergrowth.
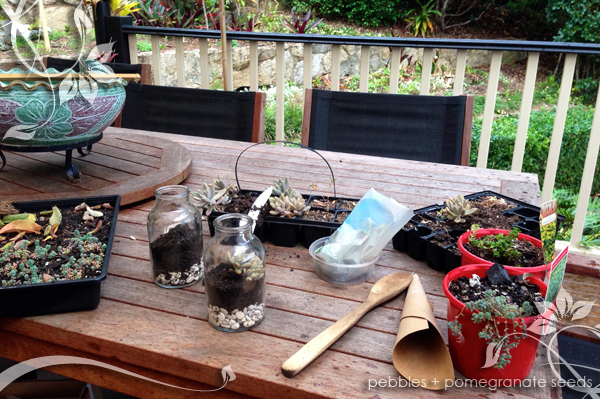
Here is what you will need:
500ml Apothecary jars (I purchased mine from Pack My Product)
potting mix
small pebbles
coloured sand
long tweezers
long smooth stick (handle of a wooden spoon is good)
scissors
piece of thick paper/card rolled into a cone
spray bottle
succulents – various shapes and sizes
filler succulents – smaller leafed varieties
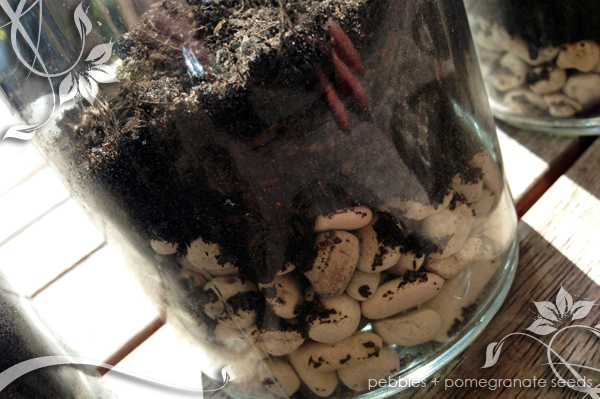
Step 1
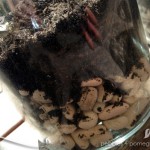
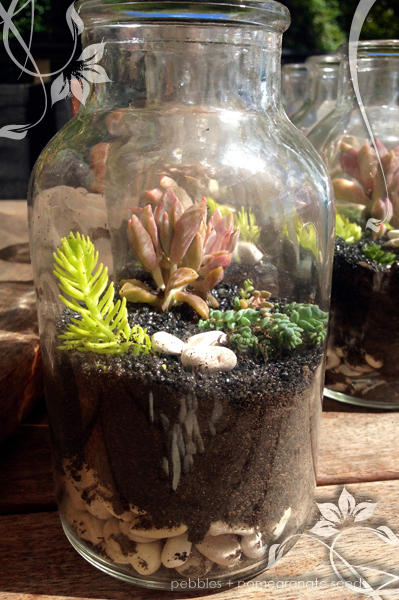
Fill the bottom of the jar with a handful of small pebbles (about 4cm).
Step 2
Top with a layer of about 3cm of soil. Layer it in a slight a mound. Using the paper rolled into a cone helps with this, allowing you to pour the soil into the centre of the jar rather than getting it all over the sides of the glass. The combination of pebbles and soil should reach to about a third the height of the glass.
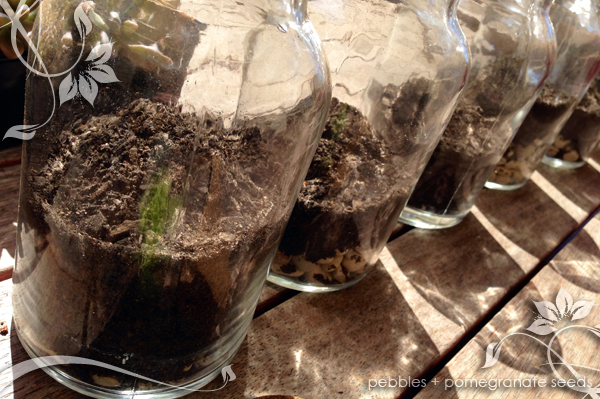
Step 3
Use the handle of a wooden spoon to tap down the soil to compact it a little bit. Then create a slight hollow in which to plant your succulents.
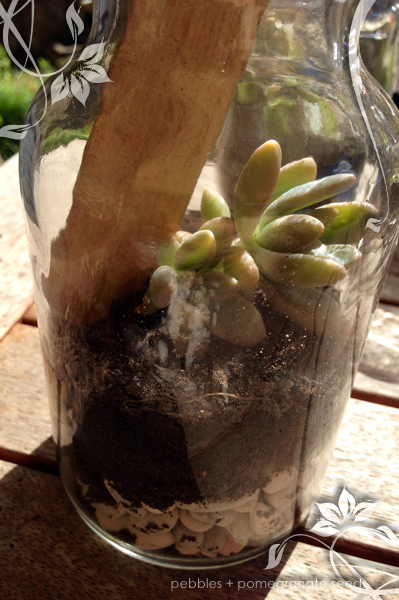
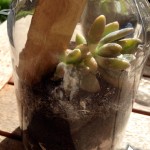
Step 4
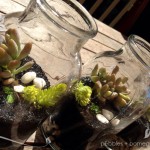
Plant the largest succulent first. Make sure the actual succulent is not bigger than the opening of your jar. Succulents are quite fragile so it should fit in the opening easily. Use the wooden spoon to manoeuvre it in to place and the compact the soil around the roots. Add a few smaller filler succulents around each larger one to crate a little bit of interest. Use your tweezers for this. Most succulents with thrive with just the stems being planted, so bear this in mind when using some of the smaller varieties, and just use cuttings.
Step 5
Once all of the succulents are in place, use the paper cone to sprinkle a light layer of coloured sand around on top of the soil. I used a coarse glistening black sand that is often used in aquariums. It just gave it a nice finish. You can also use coloured sands, depending on how creative, or ‘bright’ you would like to be. The same goes with the pebbles – you could coordinate it with your wedding colours.
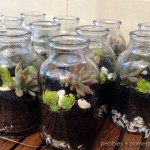
Once you are happy with your final product, use the spray bottle to give your succulents a nice refreshing spray. I would spray them lightly every day. They don’t need a big drenching water to keep them looking fresh and nice. Generally they don’t like to have wet feet either, they don’t mind drying out for short periods of time.
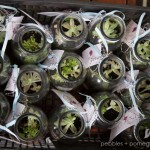
If you are making them as favours for a wedding, I would construct the favours about a fortnight prior to the wedding so that everything gets a chance to take root. You don’t want to do it too early either as they can grow quite quickly and fill the jar. If they do, you can just trim them back, but they do look nicer when they are small and compact within the jar. Also make sure that you keep an eye on the position you have them, as the glass can act as a bit of a humidifier, and if the position is too hot you may end up with succulent soup… they can handle full sun, but not in the glass jars in the middle of summer.
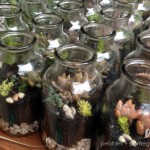
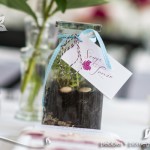
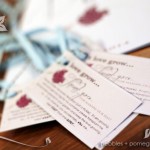
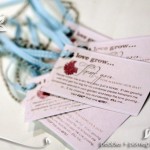
Add the final decorating touches a couple of days before, giving them a good water prior so you don’t get the ribbons/labels damp or stained.

The apothecary jars come with a lid, which while they look great, and are handy for travel, if you leave the lids on, your plant will suffocate, so only put the lids on at the very last minute, and make it known somewhere on your ‘care label’ that the lids should be taken off once they reach their destination.
I loved making them, and guests loved them. And it was nice to be able to give something personal as well as everlasting… and there you have it… succulent wedding favours.

This story was written by Petra Frieser – Pebbles + Pomegranate Seeds